Moving a hulking weight stack—or a row of heavy-duty treadmills—can feel like gearing up for a military operation rather than a simple household chore. Whether you’re upgrading to newer machines, relocating your commercial gym, or setting up a home gym equipment collection in a new space, tackling gym equipment relocation without a plan can lead to scratched floors, busted backs, and broken gear.
That’s why we’ve distilled years of moving-industry know-how into a clear, step-by-step relocation playbook. We’ll cover when to call in the pros versus going the DIY route, the right packing materials, vehicle selection, safe loading and unloading tactics, essential safety gear, and post-move testing. Follow along, and you’ll turn a daunting move into a smooth transition for any gym equipment store, personal setup, or commercial facility.
When to Hire Pros vs. DIY
Deciding whether you need professional movers or can tackle gym equipment moving on your own hinges on several factors: the weight and complexity of the items, your budget, available manpower, and experience with heavy lifts. For large commercial gym equipment—think multi-stack machines, heavy half racks, and elliptical banks—hiring specialist movers is often the wisest choice. Professional teams have the custom dollies, skid boards, and lifting straps designed specifically for gym equipment relocation. They also carry insurance for accidental damage or injury, shielding you from costly repair or medical bills.
In contrast, smaller pieces like adjustable benches, free-weight racks, or a standard treadmill might be manageable with a well-coordinated DIY crew of friends or family. If you choose the DIY path, ensure you have at least three strong helpers per large item, a clear plan for maneuvering through doorways and tight corners, and the right tools on hand. When in doubt—especially for pieces exceeding 200 pounds or with complex electronic consoles—opt to call in professionals who know exactly who moves gym equipment safely and efficiently.
Packing Materials and Labeling
Proper packing is the cornerstone of any successful gym equipment relocation. Start by gathering heavy-duty moving blankets, bubble wrap, stretch film, and sturdy corrugated padding. For free weights and plates, use heavy-duty straps or chains rather than flimsy rope to bundle them safely; avoid stacking plates upside down to prevent scratches. Wrap all metal frames—like bench uprights or machine arms—in moving blankets secured with stretch film. Protect digital consoles and electronic components with bubble wrap, placing foam blocks around corners to cushion impacts.
Labeling is equally critical. Use large, waterproof markers to tag each wrapped item with its contents and intended destination room—e.g., “Treadmill Console, Cardio Room” or “Plate Rack, Weight Zone.” Number each package and maintain a corresponding inventory list, so you can verify everything arrived and spot any missing pieces quickly. For small hardware—bolts, washers, and assembly tools—seal them in labeled zip-lock bags and tape them to their respective equipment parts to avoid mix-ups during reassembly.
Vehicle Selection & Loading Tips for Gym Equipment Relocation
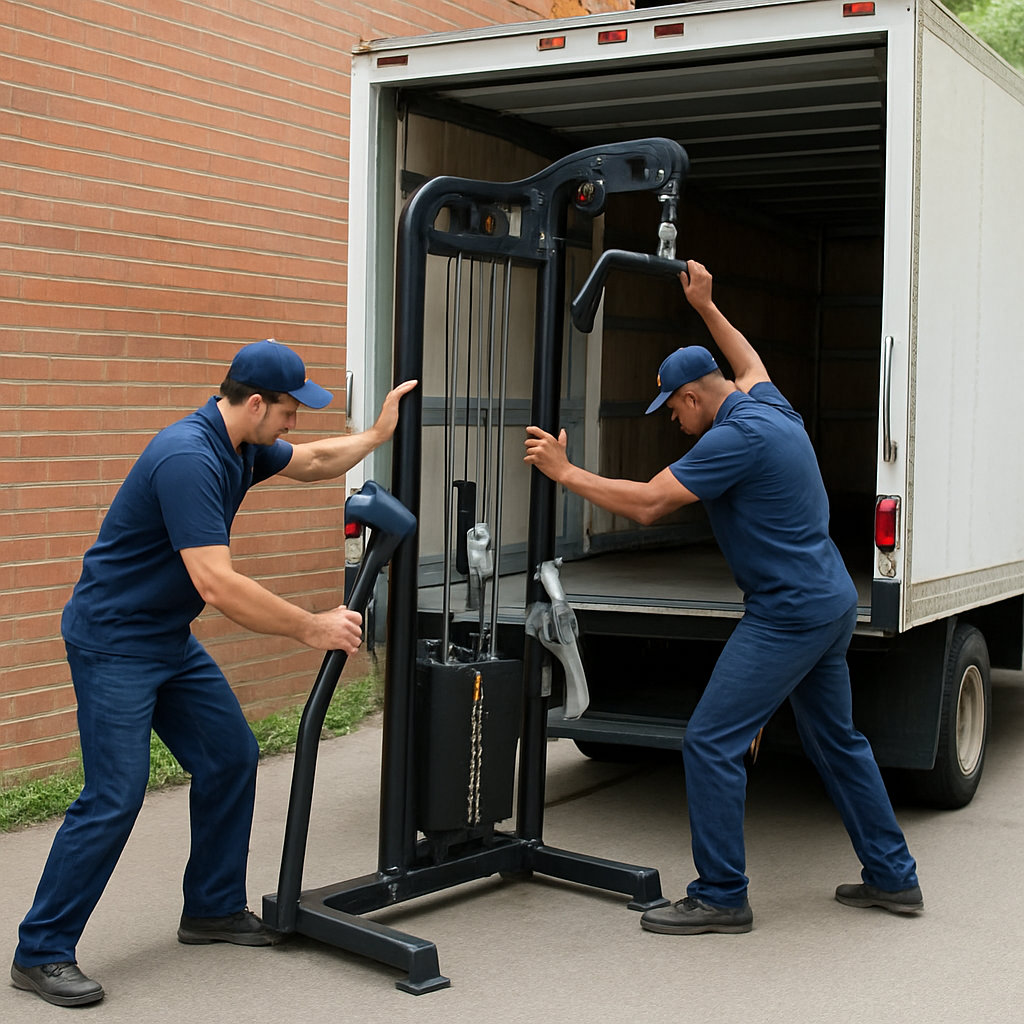
Choosing the right vehicle can make or break your gym equipment relocation. Cargo vans or box trucks (12–16 feet) are ideal for medium-sized moves, offering enclosed, weatherproof spaces and tie-down points on the walls. For larger commercial moves—multiple treadmills, racks, and machines—a 24-foot truck may be necessary to accommodate the volume while leaving enough room to safely position items without crowding.
When loading, follow a weight-distribution strategy: heaviest pieces go on the floor over the axles to maintain stability and avoid rear-wheel overload. Use loading ramps and furniture dollies for smooth transitions from ground to truck bed. Secure items with ratchet straps, anchoring them to the built-in tie-down rings—never rely on bungee cords, which can slip or snap under tension. Fill gaps with lighter items (foam mats, small benches) to prevent shifting during transit. If stacking is unavoidable, place plywood sheets between layers to distribute pressure evenly and prevent crushing lower components.
Unloading & Setup Best Practices
Upon arrival, tackle unloading with the same systematic approach you used for packing. Unstrap and unwrap the largest machines first, clearing a dedicated space for each before maneuvering them inside. Use appliance sliders or skid boards under heavy bases to protect flooring during moves over thresholds. For narrow hallways or tight corners, consider disassembling removable arms or rails to reduce dimensions—just be meticulous in labeling hardware to streamline reassembly.
When setting up commercial gym equipment or home gym equipment, follow manufacturer instructions closely. Level treadmills on adjustable feet or shims to prevent wobble and ensure accurate speed calibration. Align multi-station rigs with floor anchors if provided to guard against tipping under load. Reconnect all electrical components last, inspecting cords for travel damage and testing circuits before full use. A quick test-run—5–10 minutes at low speed or light resistance—will help confirm everything operates smoothly and safely.
Safety Gear & Team Coordination
No gym equipment relocation playbook is complete without proper safety gear. Every team member should wear steel-toe boots, work gloves with reinforced palms, and back-support belts if lifting heavy items. Eye protection is recommended when unwrapping tightly bound stretch film or shrink wrap. Hard hats may be prudent when moving tall machines in crowded commercial spaces.
Team coordination beats sheer strength. Hold a quick safety briefing before each lift: assign roles (lead lifter, spotter, guide), agree on verbal cues (“Lift on three,” “Steady back,” “Lower slowly”), and designate a clear path and drop zones. Use a walkie-talkie or headset system for larger venues to keep everyone in sync, especially when direct line of sight is obstructed by equipment. Rotate duties to avoid fatigue and schedule short breaks every 30–45 minutes to maintain focus and prevent mishaps.
Post-Move Checks & Testing for Gym Equipment Relocation
After completing gym equipment moving, a thorough post-move inspection is essential. Verify that all parts are present and properly fastened: double-check bolts, nuts, and brackets against your initial inventory list. Run each machine through a safety checklist—treadmills should power on and ramp through speeds, ellipticals must turn smoothly, and weight machines need consistent resistance without jerking.
Inspect frames for any nicks or bends incurred during transit. Apply lubricant to moving parts where recommended—chain-driven bikes and cable pulleys particularly benefit from a light film of silicone spray. Record any damage or irregularities immediately to address them before full-scale use. For commercial operations, log maintenance entries into your CMMS (Computerized Maintenance Management System) to track service history and warranty claims, ensuring that small issues don’t escalate into costly downtime.
Key Takeaway
Three Relocation Must-Dos:
- Plan your gym equipment relocation by assessing size, weight, and manpower needs—know who moves gym equipment best for each job.
- Secure, label, and inventory every component using professional packing materials to safeguard your gear.
- Coordinate your team with clear roles, proper safety gear, and post-move testing to confirm everything’s operating flawlessly.
By following these guidelines, you’ll ensure that every treadmill, rack, and bench arrives intact, installed correctly, and ready to elevate workouts—without breaking a sweat (or your back). Additionally, look at our other guided posts here and here.