Lucky for both of us, you don’t need to cough up membership fees or buy brand-new machines to keep your gear running like day one. This zero-fluff roadmap to gym equipment repair will walk you through the most common breakdowns, easy DIY fixes, when to hunt down gym equipment repair near me, and how to budget for both in-warranty and out-of-warranty service. Let’s get that iron back in peak shape.
Common Issues
Whether you own a single adjustable bench for your garage or manage fleets of commercial gym equipment in a fitness center, certain failure modes show up repeatedly. Rust is the enemy of moving parts—bars, pivots, and pulleys seize up when protective coatings wear thin, leaving you to chisel away oxidation before every workout. Loose bolts lurk behind rattles and misalignments in major fitness gym equipment, risking misfires under heavy load. Fraying cables on cable machines or selectorized weight stacks remind you that steel wire stretches and frays over time—one snapped cable can injure users or damage electronics if the pulley catches. Even electronics aren’t safe: moisture ingress and worn connectors in cardio consoles lead to flickering screens or phantom error codes. Tackling these head-on is the first step in any serious gym equipment repair strategy.
DIY Fixes: gym equipment repair
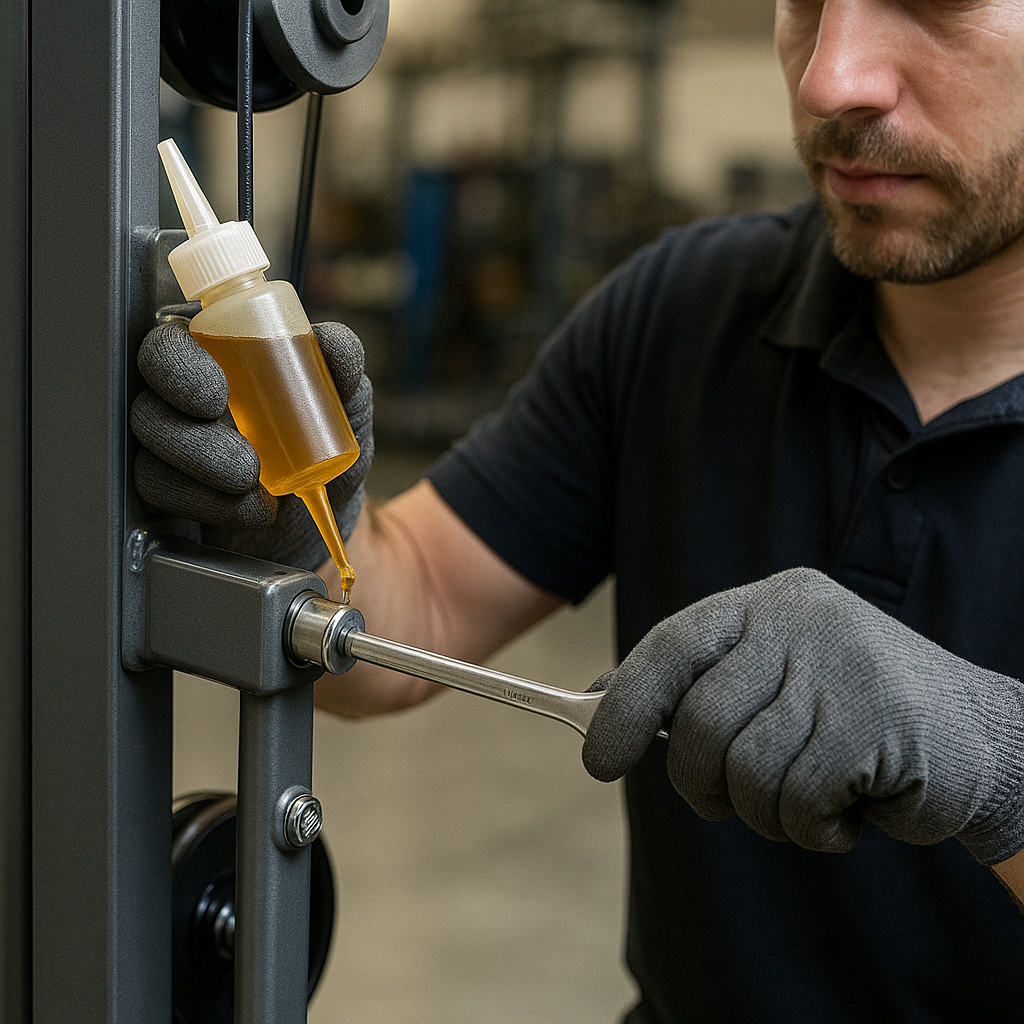
You don’t need a toolbox the size of Fort Knox to conquer many common issues yourself. Keep a supply of 3-in-1 machine oil or silicone spray to lubricate moving parts: apply at pivot points, let it penetrate, then work the mechanism through its full range. For loose bolts, invest in a metric wrench set and thread-locker (blue Loctite)—tighten to manufacturer torque specs and apply thread-locker to resist vibration loosening. Replace fraying cables by ordering OEM wire ropes from your gym equipment store or online parts suppliers—thread them carefully through pulleys, tape the ends before insertion, then remove tape once properly seated. For minor rust spots, sand the area lightly, apply rust converter, then touch up with appliance-grade spray paint to seal against moisture. A quick console reboot or cable reseat often fixes annoying electronic glitches on treadmills and bikes—just unplug for five minutes, then plug back in before diving into deeper troubleshooting.
When to Call a Pro for Gym Equipment Repair
Even the handiest gym owner will hit a wall with complex breakdowns or high-voltage electronics. When wiring on a cardio console shows melted insulation, or a hydraulic cylinder leaks fluid inside a commercial recumbent bike, it’s time to hunt down gym equipment repair near me. Professional service technicians bring diagnostic tools—multimeters, thermal cameras, and OEM parts—and can navigate warranty procedures for gym equipment insurance claims if your gear is still covered. For used gym equipment bought secondhand, check if any transferable warranties remain; otherwise, pros can often offer flat-rate service calls or refurbished parts that ensure safety and performance, avoiding expensive trial-and-error. Always verify that your repair shop is certified by major brands (Life Fitness, Star Trac) if you own premium commercial gym equipment, guaranteeing use of genuine replacement components.
Cost Expectations & Budgeting: Gym Equipment Repair
Budgeting for maintenance is crucial. Basic DIY supplies—oil, wrenches, touch-up paint—run under $50 annually for a home setup. Mid-tier parts like cables, bearings, and console fuses range $30–$150 each. When you call a professional, expect service fees of $75–$125 per hour plus parts markup; a typical treadmill repair averages $300–$500 total, whereas complex console rebuilds can climb to $800–$1,200. For major fitness gym equipment fleets, set aside 3–5% of your equipment’s purchase cost per year for preventive and corrective gym equipment repair. Factor in downtime costs too—each hour your machines are offline equals lost revenue or missed workouts, adding urgency to timely servicing.
Preventive Maintenance Schedule
Proactivity kills breakdowns. Create a simple quarterly checklist: inspect all pivot points and lubricate; torque-check every nut and bolt; visually examine cables for frays; clean and disinfect upholstery; test electrical safety switches and console functions. Monthly, wipe down all moving parts with cloth and oil, vacuum dust from motor vents, and calibrate load-sensing mechanisms. For commercial gym equipment, use manufacturer maintenance logs—many brands provide suggested service intervals, some even online—so you never miss a warranty-required check. Record each action in a digital spreadsheet or CMMS to spot trends: if a specific elliptical needs belt adjustments every two months, log that for targeted repair or replacement planning.
Warranty vs. Out-of-Warranty Repair
Understanding your coverage can save serious cash. New equipment from authorized gym equipment store dealers typically carries 5–10 year frame warranties, 2–3 year parts coverage, and 1 year on electronics—read the fine print for required preventive maintenance tasks to keep the warranty valid. If you’re in the warranty period and follow prescription maintenance, repairs are often free minus a service call fee. Once outside, repairs default to out-of-pocket, so weigh extended-warranty purchase costs (usually 10–15% of retail price for 2 extra years) against expected repair bills. For used gym equipment, warranties are rare; consider investing in third-party service contracts or mechanical breakdown coverage from gym equipment insurance providers to cap your costs.
Key Takeaway
Three-Step Maintenance Checklist:
- Inspect & lubricate monthly—pivot points, cables, and electronics.
- Torque check & cable replace quarterly—use thread-locker and OEM parts.
- Schedule professional service annually—find trusted gym equipment repair near me before small issues become big headaches.
With this no-BS guide to gym equipment repair, you’ll keep rust at bay, bolts tight, and cables smooth—ensuring every rep is safe, silent, and satisfying without busting your budget. For more guides, please follow.